
To fix sunken pavers, remove the pavers in the low area, add and compact base material to bring it back to the right height, screed a fresh layer of bedding sand, reset the pavers, then compact them and refill the joints with polymeric sand. A small spot takes a few hours. The real key is finding out why the pavers sank so the problem doesn’t come back.
Sunken pavers are more than an eyesore. Low spots collect water and ice, create trip hazards and can spread if the cause isn’t fixed. The good news is that pavers are one of the few patio surfaces you can repair without starting over. Here’s why pavers sink in Colorado and how to fix them the right way.
Why Do Pavers Sink?
Pavers almost never sink because of the pavers themselves. The problem is nearly always what’s underneath. The most common causes are:
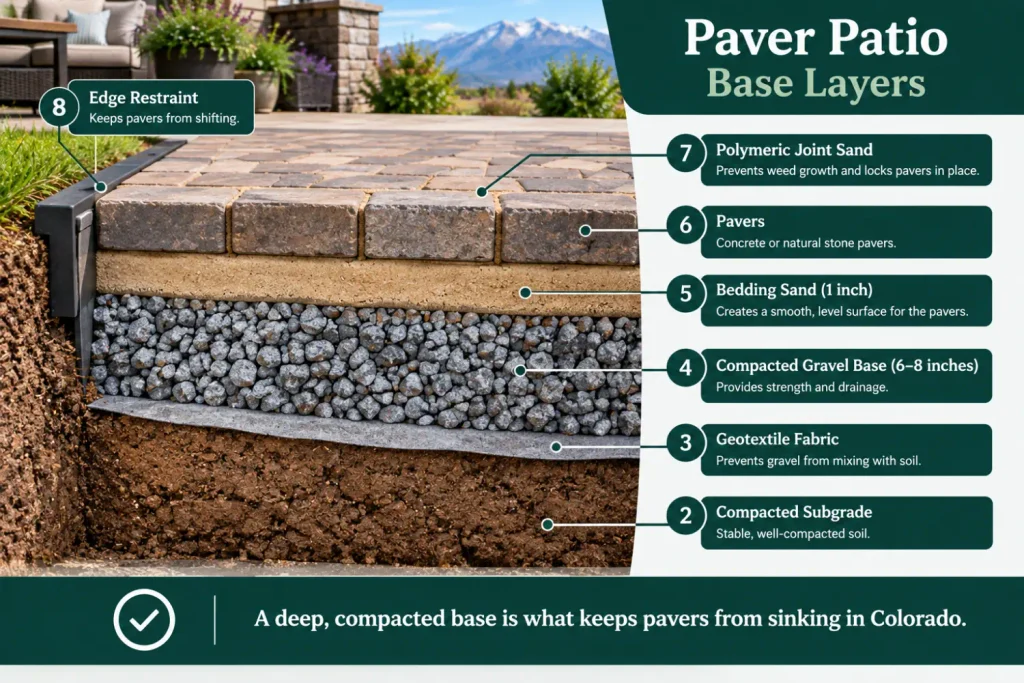
- A thin or poorly compacted base. Patios need several inches of crushed gravel base, compacted in layers. When the base is too shallow or just dumped and leveled, it settles under weight over time.
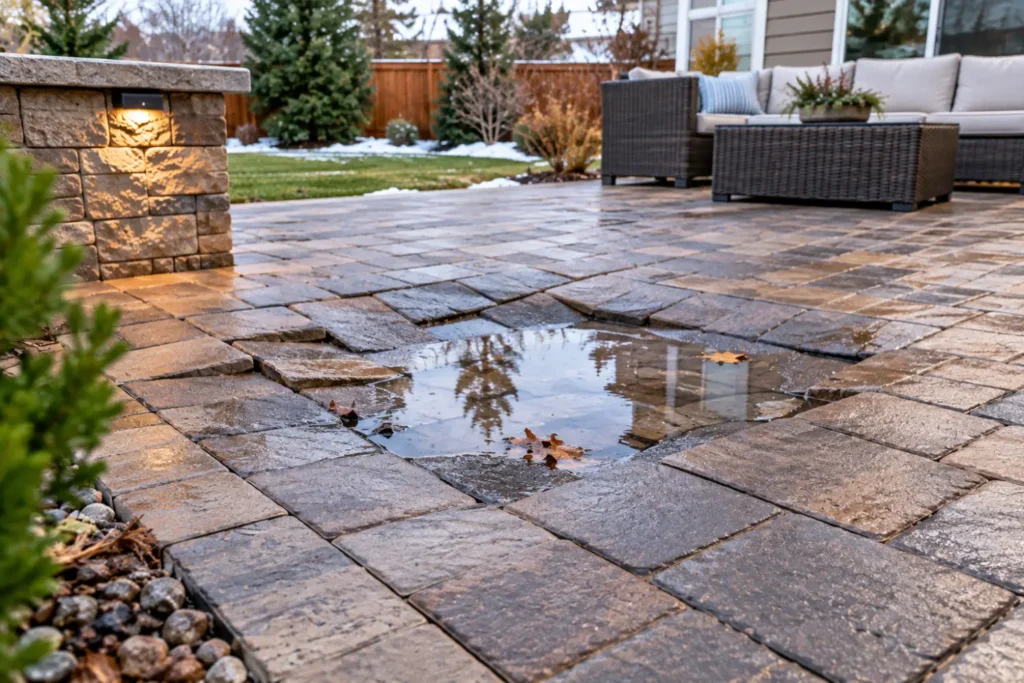
- Water getting under the patio. Downspouts that empty onto the patio, poor slope or low spots let water wash out the bedding sand and soften the soil below.
- Expansive clay soil. Much of the Denver area sits on clay that swells when wet and shrinks when it dries. That repeated movement can open voids under the base.
- Freeze-thaw cycles. Water trapped under pavers freezes, expands and lifts them. When it thaws, they settle back unevenly.
- Missing or failed edge restraints. Without a solid edge, pavers drift outward and the sand underneath escapes, causing edges to sink.
- Joint sand washout. When joint sand is lost, pavers can move more freely and water reaches the bedding layer faster.
- Utility trenches or decayed roots. Loose backfill in an old trench or rotting tree roots can leave hidden soft spots.
Is It a Quick Fix or a Bigger Problem?
Before you start, take a look at the pattern of the damage. It tells you a lot about the cause.
| What you see | Likely cause | Typical fix |
|---|---|---|
| One small dip or a few pavers | Local soft spot or washout | DIY reset (steps below) |
| Sinking near a downspout | Water discharge under the patio | Reset pavers and redirect the downspout |
| Edges sinking or spreading | Missing or failed edge restraint | Reset edge and install new restraint |
| Large wavy areas across the patio | Thin or poorly compacted base | Lift, rebuild the base and relay |
| Puddles near the house foundation | Patio sloped the wrong way | Regrade with professional help |
Tools and Materials You’ll Need
- Two flathead screwdrivers or a paver extractor tool
- Rubber mallet
- Shovel, trowel and stiff broom
- Crushed gravel base material (3/4-inch road base)
- Coarse concrete sand for bedding
- Hand tamper (or a rented plate compactor for larger areas)
- Long level or straight 2×4
- Two 1-inch metal pipes or electrical conduit for screeding
- Polymeric joint sand
- Garden hose with a shower nozzle
How to Fix Sunken Pavers: Step by Step
Step 1: Mark the area
Lay a straight board or long level across the low spot to see how far the sinking extends. Mark the area with chalk, plus one row of pavers beyond the dip on all sides so the repair blends in.
Step 2: Remove the pavers
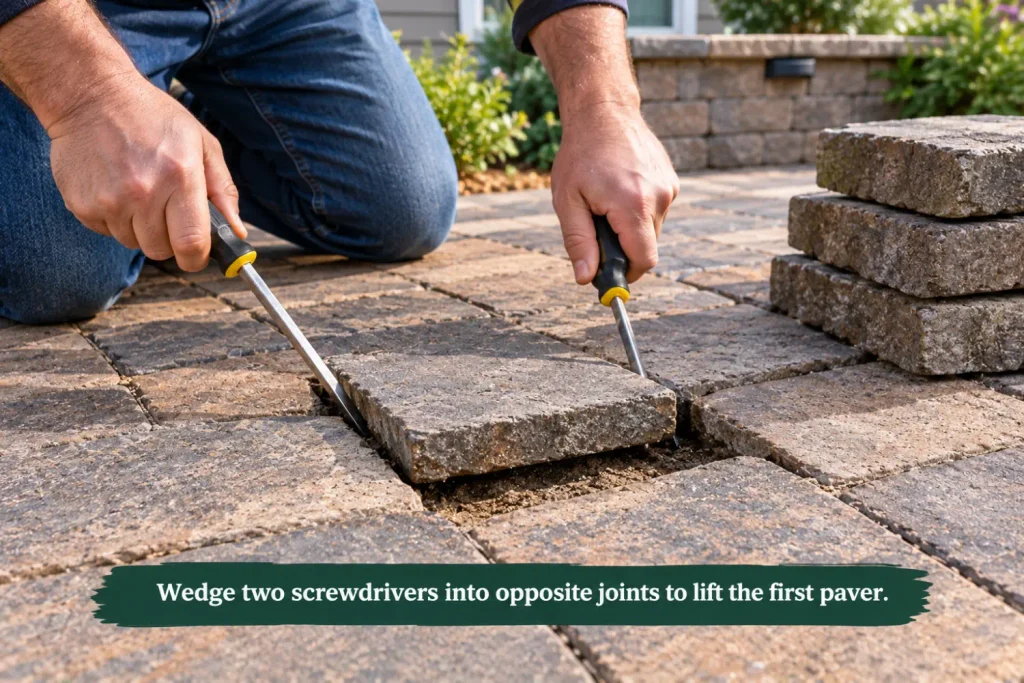
The first paver is the hardest to get out. Scrape out the joint sand, then wedge two flathead screwdrivers into opposite joints and lift. Once one is out, the rest come up easily. Stack them in order nearby. A quick phone photo of the pattern helps when you put them back.
Step 3: Remove the old bedding sand
Scrape away the old sand layer. It’s often contaminated with soil or has washed into the base, so it’s best to replace it rather than reuse it.
Step 4: Find and fix the cause
Look at what’s underneath. Is the base thin or soft? Is the soil wet? Is there a void? If water is the cause, redirect the downspout or fix the drainage before going further. Otherwise, the patio will sink again.
Step 5: Rebuild and compact the base
Add crushed gravel base in layers about 2 inches thick, moistening each layer lightly and compacting it firmly with a hand tamper. Keep going until the base is level with the surrounding base. For areas larger than a few square feet, a rented plate compactor gives much better results.
Step 6: Screed the bedding sand
Lay your two pipes on the base as rails and spread coarse sand over them. Drag a straight 2×4 across the pipes to create a smooth, even 1-inch layer. Remove the pipes and fill the grooves with sand. Don’t walk on the screeded sand.
Step 7: Reset the pavers
Place the pavers back in their original pattern, setting them straight down rather than sliding them into place. Tap each one with a rubber mallet. Check with your level that they sit flush with the surrounding pavers. They should sit slightly high (about 1/8 inch) before compaction.
Step 8: Compact and fill the joints
Tamp the pavers to settle them into the sand. Sweep polymeric sand into the joints, compact again and sweep in more until the joints are full. Blow or brush all sand off the paver surface, then mist with water according to the product directions to activate it.
How to Keep Pavers From Sinking Again
- Manage water. Extend downspouts away from the patio and make sure the surface slopes slightly away from your home.
- Keep the joints full. Check polymeric sand every spring and top it up where it’s worn away.
- Check the edges. Make sure edge restraints are secure, especially along lawn and planting beds.
- Fix small dips early. A small low spot is a quick repair. Left alone, it collects water and spreads.
- Be careful with heavy loads. Patios built for foot traffic aren’t designed for vehicles, dumpsters or heavy equipment.
Sunken Pavers Repair Cost
Doing a small repair yourself usually costs under $100 in sand, base material and polymeric sand. Hiring a professional for sunken pavers repair in the Denver area typically costs:
| Repair type | Typical cost |
|---|---|
| Small spot repair (under 50 sq ft) | $400 to $1,000 |
| Larger relevel and reset | $8 to $15 per sq ft |
| Full base rebuild and relay | $12 to $22 per sq ft (reusing existing pavers) |
If most of the patio is sinking, a full rebuild may cost close to a new patio. See our Denver paver patio cost guide to compare.
When to Call a Professional
A few sunken pavers are a manageable weekend project. Call a pro if you notice:
- Sinking across a large part of the patio
- Water pooling against your home’s foundation
- Pavers that keep sinking after you’ve reset them
- Sinking next to a retaining wall, steps or a structure
- Edges spreading or pavers separating in many places
These signs usually point to a base or drainage problem that needs more than a spot fix.
Frequently Asked Questions
Pavers sink when the base underneath settles or washes out. The most common causes are a thin or poorly compacted base, water draining under the patio, clay soil movement, freeze-thaw cycles and missing edge restraints.
Not properly. To fix sunken pavers, you need to lift them, correct the base and bedding sand, then reset them. Adding sand into the joints won’t raise a low area.
A small area takes about 2 to 4 hours for a DIYer. Polymeric sand typically needs about 24 hours to cure, depending on the product and weather.
No. Pavers installed on a properly prepared base shouldn’t sink. Sinking within the first year or two usually points to poor base preparation or a drainage issue.
It depends on the contractor. Ridgewell backs its paver installations with a 5-year paver warranty. Ask any installer exactly what their warranty covers before you hire them.
Need Help With Sunken Pavers in the Denver Area?
If your patio needs more than a spot fix, or you’d rather have it done right the first time, Ridgewell Landscape and Design can help. We repair and rebuild paver patios across Denver and the Greater Denver Metro with the deep, compacted base Colorado soil demands.
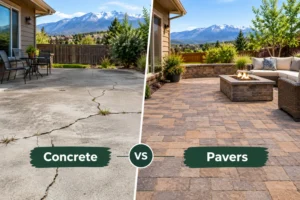
Thinking about replacing the patio instead? Read our comparison of pavers vs concrete patios in Colorado, explore our paver patio services or request a free consultation.