- Get A Free Consultation.
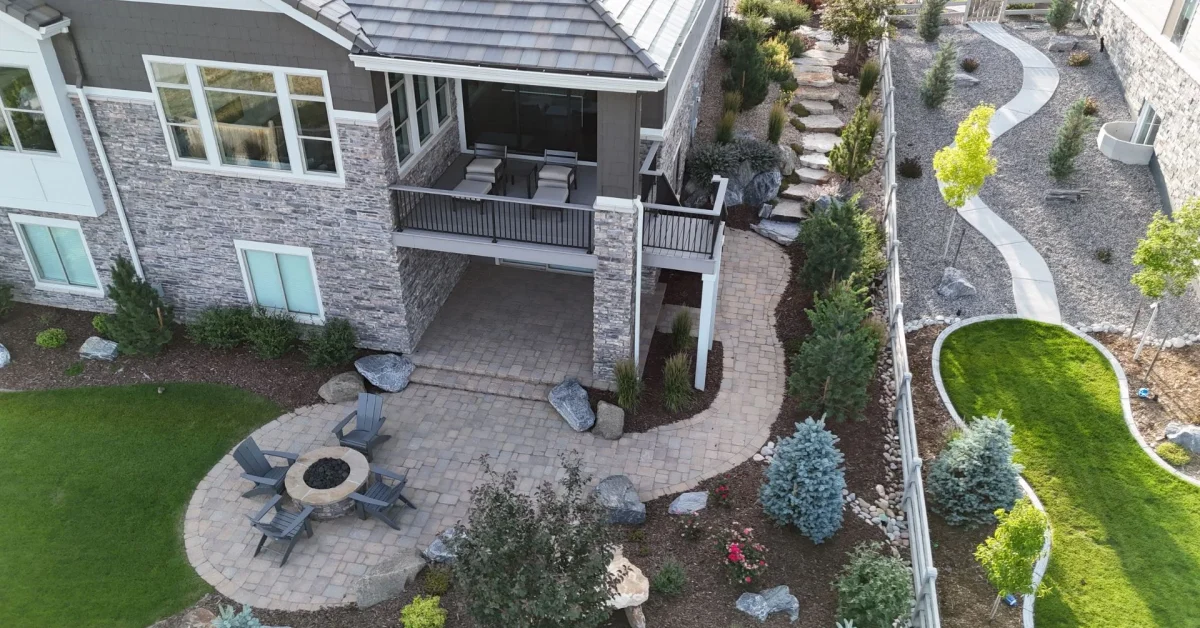
A paver walkway is one of the simplest ways to add curb appeal and function to a yard. It guides foot traffic, ties your landscape together, and holds up for years when it is built correctly. The problem is that “built correctly” is doing a lot of work in that sentence. A paver walkway that looks easy on a weekend DIY video can shift, sink, or crack within a season if the base underneath it is not done right.
At Ridgewell Landscape and Design, we have installed and repaired hundreds of paver walkways and paver patios across the Denver area, including Broomfield, Parker, and the surrounding communities. This guide walks through exactly how a paver walkway is built, step by step, so you can decide whether this is a project to tackle yourself or one worth handing to a professional.
Both paths can work. It really comes down to your timeline, tools, and how much risk you are willing to take on if something goes wrong underground.
| Factor | DIY | Hiring a Professional |
| Upfront cost | Lower, mainly materials | Higher, includes labor and equipment |
| Time investment | A full weekend or more for a short walkway | Usually completed in one to two days |
| Tools required | Rent a plate compactor, need a level, rubber mallet | Contractor brings all equipment |
| Risk of settling or shifting | Higher if base prep is rushed | Lower, base is engineered for your soil and climate |
| Warranty | None | Most reputable companies offer a workmanship guarantee |
| Best for | Short, straight walkways with simple grading | Longer walkways, slopes, drainage issues, or tie ins to patios |
If your walkway is short, flat, and straight, a motivated homeowner with the right tools can absolutely build it themselves. If you are dealing with slopes, poor drainage, tree roots, or a longer path, the margin for error shrinks fast, and that is usually when it makes sense to bring in a professional.
A little planning up front saves a lot of frustration later. Before you touch a shovel, work through these basics.
Materials
Tools
Use stakes and string, or a garden hose, to mark the exact path and width of your walkway. Most walkways range from 3 to 4 feet wide, but this depends on how the path will be used. Stand back and check the layout from a few angles before committing to it.
Dig out the marked area to a depth that accounts for your base, sand, and paver thickness combined. As a general rule, plan for 7 to 9 inches total depth. Keep the sides of the excavation straight and remove any roots, rocks, or debris.
Fill the excavated area with 4 to 6 inches of crushed gravel or road base. Add it in layers of about 2 inches, compacting each layer with a plate compactor before adding the next. This step matters more than any other. A poorly compacted base is the number one reason paver walkways shift and sink over time. For a closer look at getting this right, see our guide to proper paver base depth.
Roll landscape fabric over the compacted base. This keeps soil and weeds from working their way up through the joints later, without blocking proper drainage.
Spread about 1 inch of coarse sand over the fabric. Use screed rails, which can be simple pipes or boards, to drag a straight edge across the sand and create a level, even surface for the pavers to sit on.
Starting from one end, place pavers snugly against each other following your chosen pattern. Use a rubber mallet to tap each paver gently into the sand bed. Check your level regularly as you go, since small errors compound quickly over a long walkway.
At the edges and any curves, you will need to cut pavers to fit the space. A paver saw gives the cleanest cuts, though an angle grinder with a masonry blade works for smaller jobs. Always wear eye protection for this step.
Once all pavers are placed, install edge restraints along both sides of the walkway and secure them with spikes. This keeps the entire installation from spreading apart over time, especially through freeze and thaw cycles.
Spread polymeric sand over the finished walkway and sweep it into the joints between pavers. Remove excess sand from the surface, then lightly mist the area with water to activate the polymers, which harden the sand in place and help resist weeds and ants.
Run the plate compactor over the finished walkway one more time to set everything firmly in place. Sweep off any remaining sand and inspect the surface for any pavers that sit higher or lower than their neighbors, adjusting as needed.
Front Range weather is tough on hardscaping. Freeze and thaw cycles cause the ground to expand and contract repeatedly through the winter and spring, a process known as frost heave. If the base beneath a walkway is not deep enough or properly compacted, this movement will eventually push pavers up or out of alignment. This is one of the main reasons base depth and compaction matter even more here than in milder climates, and it is something we account for on every project we build in the Denver area.
| Approach | Typical Cost Range | What’s Included |
| DIY | 8 to 15 dollars per square foot | Materials only, tool rental extra |
| Professionally installed | 18 to 35 dollars per square foot | Materials, labor, equipment, base engineering, warranty |
Costs vary based on paver material, walkway length, site conditions, and any grading or drainage work needed. A short, simple DIY walkway can cost a few hundred dollars in materials. A longer or more complex professionally installed walkway, especially one with curves, borders, or a tie in to a patio, will land at the higher end of the range. For a broader breakdown of pricing across different hardscape projects, see our hardscaping cost guide.
DIY makes sense for small, straightforward projects. It is worth bringing in a professional when:
With over 15 years of building custom hardscapes across the Denver area, our team at Ridgewell Landscape and Design has seen firsthand how the right base work and material choices make the difference between a walkway that lasts a season and one that lasts decades. Explore our paver patio services to see the kind of work we build to last.
A short DIY walkway can take a full weekend, including base prep and paver laying. Professionally installed walkways are typically completed in one to two days, depending on length and site conditions.
Most residential walkways do not require a permit, but requirements vary by city. It is worth a quick call to your local building department to confirm before starting.
A base depth of 4 to 6 inches of compacted gravel is standard, though areas with heavy clay soil or significant frost heave may need a deeper base for long-term stability.
It is possible in some cases, but it depends on the condition and slope of the existing concrete. A professional assessment is the safest way to confirm whether this will hold up long term.
Landscape fabric under the base, combined with polymeric sand in the joints, is the most effective combination for keeping weeds from establishing between pavers.
It is not strictly required, but it significantly improves joint stability, reduces weed growth, and helps deter ants and other insects compared to regular sand.
The rest of the post stays exactly as before, just this section updated. Want me to repost the full article with this change in place, or is this enough for you to swap into your draft?
A paver walkway is a great weekend project if your site is simple and your expectations match a DIY finish. But if you want a walkway that holds its line through Colorado winters for decades, professional base work and installation make a real difference.
Ridgewell Landscape and Design has been building custom patios, walkways, and outdoor living spaces across Denver, Broomfield, Parker, and the surrounding communities for over 15 years. If you would rather skip the guesswork, reach out for a free quote and consultation, and let us build a walkway that fits your home and lasts.
Fresh Ideas From our experts
What Your Neighbors Are Saying
"They are the best. We have a small backyard and needed it to reflect a relaxing and enjoyable space. Chris used our ideas and came up with the perfect design. Then Francisco came with the cost projections and worked to accommodate our budget. He and his team then used their considerable construction expertise to create a space that’s an extension of our home where we spend a lot of time. Thank you for creating such a welcoming space."
"I am new to Colorado and hired Chris and Francisco to design and implement a plan for my new build house. From design to finish and followup they were beyond my expectations. They are in constant contact throughout the project and their crew is very hardworking. They followup when the project is finished and are always available for whatever questions you may have. I would highly recommend them, and I get many complements on the work they have done for me."
"We were thrilled with the end result of our brick paver patio refurbishment. We hired Chris, Francisco and their team to fix our sinking brick paver patio. It had been installed by a different landscaper, and after only 2 years it was collapsing. Boo hiss! Ridgewell Landscape and Design came in and saved the day! They discovered the original installation was done incorrectly, and that’s why it was collapsing. Their team worked hard and got the project done quickly and professionally. We are thrilled with the look and finish of the job! Bravo!!"