- Get A Free Consultation.
A front walkway does more work than any other path on a property. It’s the first thing guests, delivery drivers, and anyone passing by actually experiences of your home, and it sets a tone before a single knock on the door. That makes design decisions here carry more weight than they would for a side path or garden trail tucked out of view. Getting the installation right matters just as much as it does anywhere else, but getting the design right is where a front walkway earns its keep.
At Ridgewell Landscape and Design, front walkways are some of the most requested projects we take on across the Denver area, including Broomfield, Parker, and the surrounding communities, precisely because homeowners understand how much curb appeal rides on this one feature. This guide covers both the design decisions that make a front walkway feel intentional and welcoming, and the full installation process to bring that design to life.
Unlike a backyard path that mostly needs to function well, a front walkway is on display constantly, viewed from the street, from a car pulling into the driveway, and up close by anyone approaching the door. It’s also one of the more affordable ways to meaningfully improve a home’s curb appeal, since it doesn’t require the scale of investment a full landscape renovation does, while still having an outsized visual impact on how the whole front of the house reads.
A front walkway should generally echo the style of the home it leads to, rather than fighting against it. A traditional brick colonial pairs naturally with brick or classic running bond concrete pavers, while a more modern home with clean architectural lines often suits a simpler stack bond pattern in a larger format paver. A mountain or craftsman style home, common across parts of the Denver area, tends to pair well with natural stone or a tumbled, textured concrete paver that echoes a more organic, rustic feel.
A front entry walkway is typically the widest walkway on a property, generally 4 to 5 feet, wide enough for two people to walk comfortably side by side. Beyond function, this width also needs to feel proportional to the scale of the home’s entry, a narrow walkway leading to a substantial front door and porch can look visually undersized, while a walkway sized well against that entry reads as intentional and welcoming. Our guide on standard paver walkway width breaks down width considerations by use case in more depth.
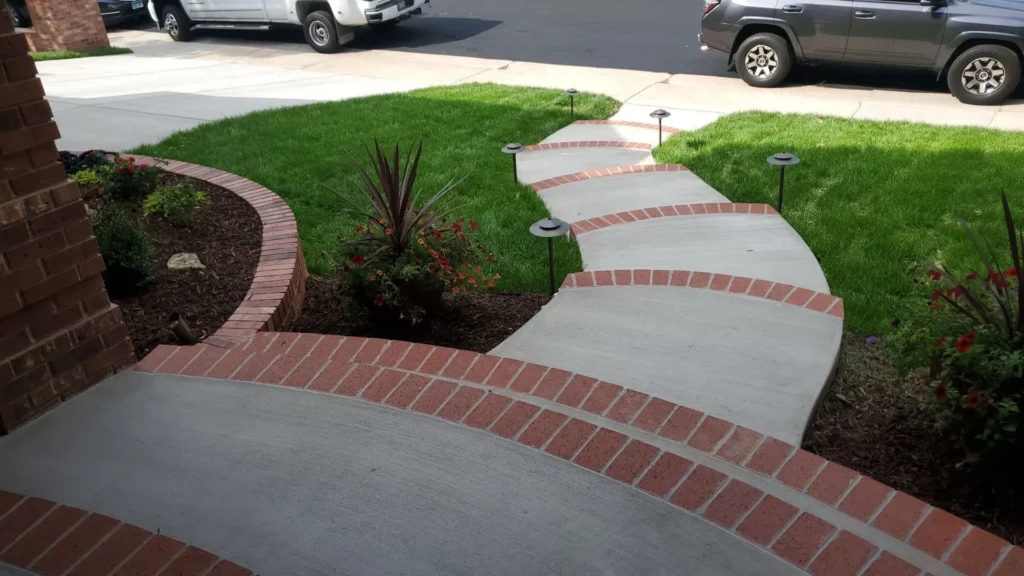
Many front walkways work best running in a straight, direct, and symmetrical line from the driveway or street to the front door, particularly on homes with a centered entry. That said, a gentle curve can add visual interest and feels appropriate on properties with more informal landscaping or a less centered entry point. Our guide on how to make a curved paver walkway covers what goes into building a curve well if that’s the direction you’re leaning.
Low-voltage path lighting along a front walkway serves both function and design. It improves visibility and safety for guests arriving after dark, and it adds a warm, finished look to the front of a home in the evening that a walkway without lighting simply doesn’t have. Fixtures are typically spaced every 6 to 8 feet along the path, positioned to illuminate the walking surface without creating glare toward the house or street.
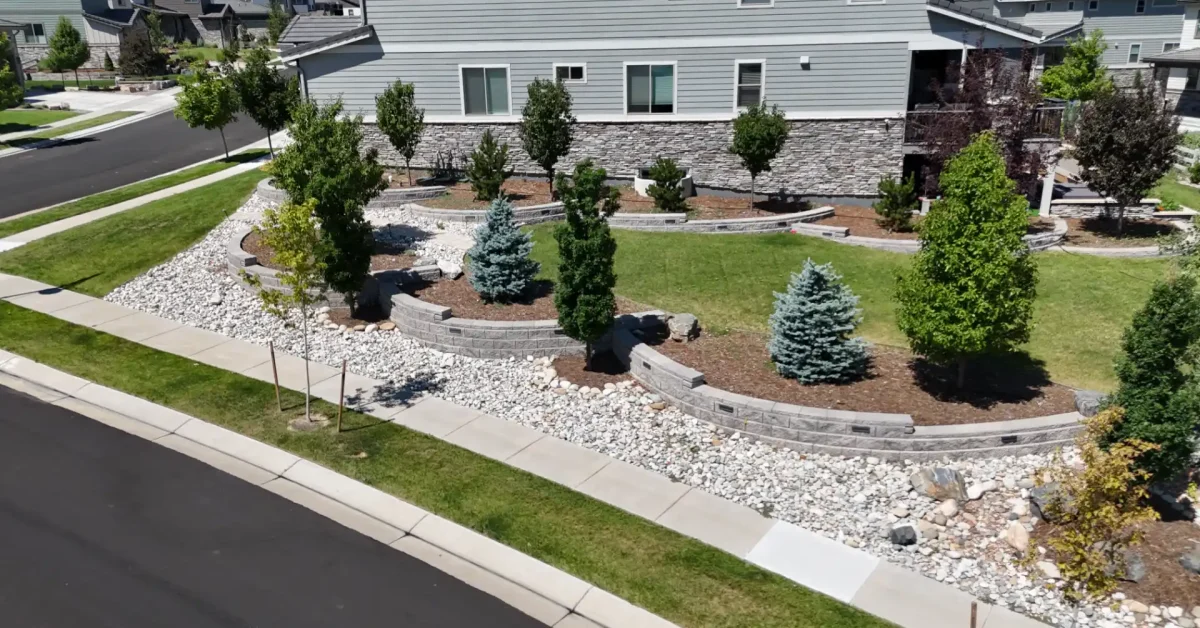
The plants and border treatment alongside a front walkway do a lot to soften the hardscape and tie it into the rest of the yard. Low, structured plantings, like boxwood or ornamental grasses, work well for a more formal look, while a looser mix of perennials and native plants suits a more relaxed, naturalistic front yard. Leaving a narrow planting bed on either side of the walkway, rather than running pavers edge to edge with turf, generally reads as more finished and gives you room for that kind of softening.
If your property is part of a homeowners association, it’s worth checking your HOA’s guidelines before finalizing your front walkway design, since front-facing changes are more likely to fall under review than backyard projects that aren’t visible from the street. Some HOAs regulate paver color, material type, or even walkway width for front-facing installations, and confirming this upfront avoids a design you love running into an approval problem partway through planning. This varies significantly between neighborhoods across Denver, Broomfield, and Parker, so a quick check with your specific HOA is worth the time before ordering materials.
Materials
Tools
Before any digging, walk your design decision, pattern, width, and path line, from a few different vantage points, from the street, from your front door looking out, and from inside a front window if applicable. A layout that looks right on paper sometimes needs small adjustments once you see it in the actual three-dimensional space.
Use stakes and string, or a garden hose for a curved layout, to mark the exact path and width on site. This is your last easy opportunity to make adjustments before excavation begins.
Dig out the marked area to a depth accounting for base, sand, and paver thickness combined, generally 7 to 9 inches total for a standard front walkway. Keep excavation edges straight and clean, since a front walkway’s visibility makes crisp, clean lines more noticeable than they would be on a backyard path.
Add crushed gravel in 2 inch layers, compacting thoroughly with a plate compactor after each layer. Base depth should run 4 to 6 inches depending on your soil type, with clay-heavy soil, common across parts of the Denver area, benefiting from the fuller depth to resist seasonal ground movement.
If you’re including path lighting, this is the stage to lay conduit or wiring beneath where fixtures will sit, before the sand bed and pavers go down on top. Planning fixture placement now avoids having to dig back into a finished walkway later.
Roll landscape fabric over the compacted base, then add and screed about 1 inch of coarse sand to create a level surface for the pavers.
Starting from a fixed, straight edge, typically your front door or porch step, place pavers snugly against each other, tapping each into position with a rubber mallet. Our guide on how to lay a paver walkway covers pattern-specific technique for running bond, herringbone, and basketweave in more depth.
Once the main field is laid, measure and cut border pieces individually to fit the remaining gaps precisely.
Secure edge restraints along both sides of the finished walkway and anchor with spikes, keeping the pattern locked in place against future shifting.
Sweep polymeric sand into the joints, remove excess sand from the surface, and lightly mist to activate the sand’s binding properties.
Run the plate compactor over the finished walkway one final time, then install and test any lighting fixtures if included in your design.
Once the hardscape is complete, install any planned border plantings alongside the walkway, giving the finished project its final, softened look.
Front walkways don’t inherently cost more per square foot than any other walkway, but design elements common to front entries, wider dimensions, decorative borders, and integrated lighting, can add cost above a basic backyard path. Our paver walkway cost guide covers general per square foot pricing, with front walkway projects often landing toward the higher end once these design elements are factored in.
Because a front walkway carries so much visual weight for a home’s overall curb appeal, it’s one of the projects where getting a second opinion on design, pattern, width, and how it ties into the rest of your front yard, pays off more than it might for a less visible path. A technically well-built walkway that doesn’t quite suit the home’s style is a harder problem to fix after the fact than getting the design right from the start.
With over 15 years of designing and building front walkways across the Denver area, our team at Ridgewell Landscape and Design has a strong sense of what pairs well with different home styles and how to balance function with genuine curb appeal. Explore our paver patio services to see examples of front walkway projects across a range of architectural styles.
Most front walkways run 4 to 5 feet wide, comfortable for two people walking side by side and proportional to the scale of a typical home entry.
Either can work well. A straight, symmetrical walkway suits homes with a centered entry, while a gentle curve fits properties with more informal landscaping or an entry that isn’t perfectly centered.
It’s worth checking, since front-facing changes are more likely to fall under HOA review than backyard projects, and some associations regulate paver color, material, or width for visible installations.
This depends on your home’s architectural style. Traditional homes often pair well with brick or classic patterns, while modern homes suit simpler, larger format pavers, and mountain or craftsman style homes often pair well with natural stone or tumbled concrete pavers.
It’s a strong option both for safety and curb appeal, since path lighting improves nighttime visibility for guests and adds a finished look to the front of the home in the evening.
Not inherently, but design elements common to front entries, like added width, decorative borders, or integrated lighting, often push the total cost above a basic backyard path.
A front walkway is one of the most visible investments you can make in a home’s curb appeal, and getting both the design and installation right makes the difference between a walkway that looks like an afterthought and one that feels like it was always meant to be there.
Ridgewell Landscape and Design has been designing and installing front walkways across Denver, Broomfield, Parker, and the surrounding communities for over 15 years. If you’re ready to give your home’s entry the walkway it deserves, reach out for a free quote and consultation.
Fresh Ideas From our experts
What Your Neighbors Are Saying
"They are the best. We have a small backyard and needed it to reflect a relaxing and enjoyable space. Chris used our ideas and came up with the perfect design. Then Francisco came with the cost projections and worked to accommodate our budget. He and his team then used their considerable construction expertise to create a space that’s an extension of our home where we spend a lot of time. Thank you for creating such a welcoming space."
"I am new to Colorado and hired Chris and Francisco to design and implement a plan for my new build house. From design to finish and followup they were beyond my expectations. They are in constant contact throughout the project and their crew is very hardworking. They followup when the project is finished and are always available for whatever questions you may have. I would highly recommend them, and I get many complements on the work they have done for me."
"We were thrilled with the end result of our brick paver patio refurbishment. We hired Chris, Francisco and their team to fix our sinking brick paver patio. It had been installed by a different landscaper, and after only 2 years it was collapsing. Boo hiss! Ridgewell Landscape and Design came in and saved the day! They discovered the original installation was done incorrectly, and that’s why it was collapsing. Their team worked hard and got the project done quickly and professionally. We are thrilled with the look and finish of the job! Bravo!!"