- Get A Free Consultation.
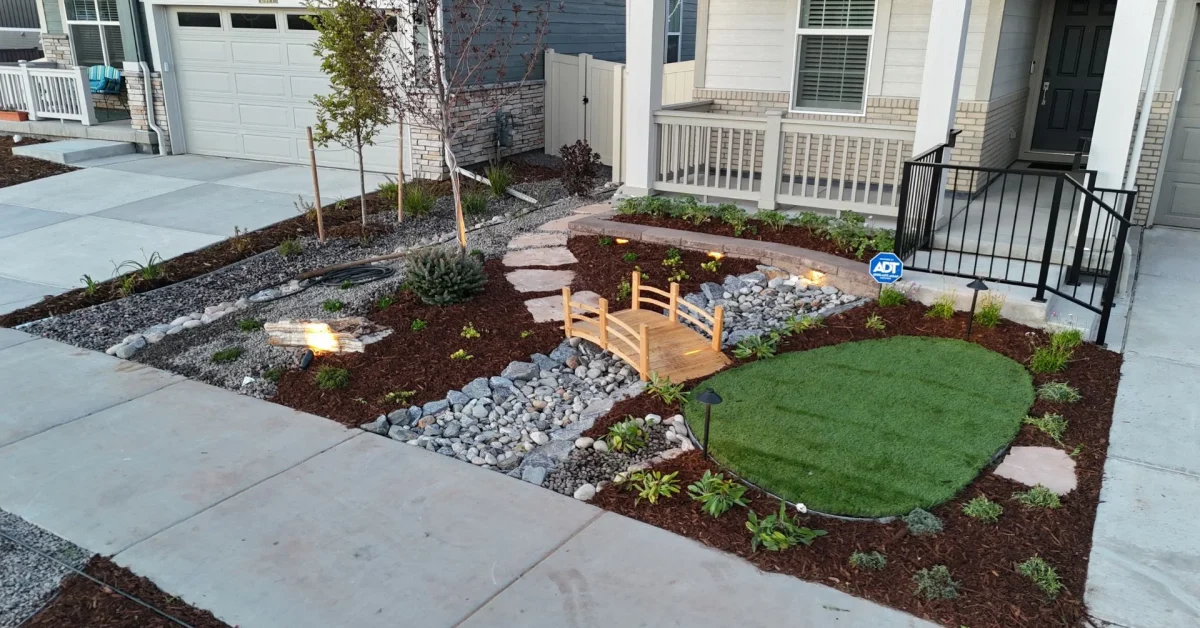
Getting the ground level for a paver walkway is one of those steps that looks simple until you’re actually standing in the yard with a level in one hand and a rake in the other, realizing the ground has more dips and high spots than it appeared to from the porch. Level ground is what makes the difference between pavers that sit flush and even versus a walkway that rocks underfoot or develops a wavy surface within the first season.
At Ridgewell Landscape and Design, we level ground for paver walkways across the Denver area, including Broomfield, Parker, and the surrounding communities, on nearly every project we build, and it’s a step that rewards patience far more than speed. This guide walks through what leveling actually means as distinct from excavation or grading, how to deal with an uneven starting point, and the specific tools and techniques for getting it right.
These three terms get used almost interchangeably by homeowners, but they refer to different stages of the same overall process.
| Term | What It Means | When It Happens |
| Excavation | Removing soil to the correct overall depth | First step, before any base material goes in |
| Grading | Establishing the intended slope or flatness of the site | During and after excavation, sets the overall plan |
| Leveling | Fine-tuning the surface to be flat and even at each stage | Happens at multiple points, base, sand, and paver placement |
Excavation is the broad work of digging out the area to the right depth. Grading is about establishing the intended slope, whether that’s perfectly flat or a deliberate gentle grade for drainage. Leveling is the finer, more precise work that happens on top of that grading, making sure the actual surface at each layer, the compacted base, the bedding sand, and finally the pavers themselves, is even and consistent rather than just roughly in the right shape. You can grade a site correctly and still end up with an unlevel walkway if the leveling work at each layer isn’t done carefully.
Before any digging, walk the planned walkway path slowly and note any obvious high spots, dips, rocks, or root systems by eye. This gives you a general sense of what you’re working with before you’re committed to a specific excavation depth.
Rocks, exposed roots, and old debris need to come out before you can establish a reliable base grade underneath. Trying to level around an obstacle rather than removing it usually creates a weak point in the base that shows up as a dip or soft spot later, even if the surface looks fine on installation day.
A yard with both dips and raised areas along the walkway path needs different treatment for each. High spots typically need to be cut down during excavation, while low spots may need additional fill material, ideally compacted in layers rather than dumped in all at once, to avoid creating a soft, poorly compacted pocket that settles unevenly later.
An uneven yard often has a reason behind the unevenness, sometimes it’s natural settling, sometimes it’s related to how water has moved across that area over time. Before leveling everything flat, it’s worth understanding whether any part of the unevenness is doing useful drainage work that you’d want to preserve or redirect deliberately, rather than simply flattening without considering where water will go afterward.
A string line stretched tightly between stakes at each end of the walkway gives you a fixed, straight reference point to measure against as you excavate and level. This is one of the most basic and reliable methods for keeping a long walkway consistent, since it removes the guesswork of eyeballing level across a distance where small errors are hard to spot without a reference line.
A small line level clips directly onto a string line and shows whether that line itself is level, which is especially useful when you need the string line as a level reference rather than one that follows an intentional slope. This is a low-cost tool that pairs naturally with the string and stakes method above.
For leveling the bedding sand layer specifically, a screed board dragged across two parallel rails, typically lengths of pipe or lumber set at the exact height you want the sand to finish at, creates a consistently level surface in a single pass. This method is widely used because it’s simple, inexpensive, and produces very consistent results for the sand layer specifically, which is the layer pavers actually sit on.
A standard carpenter’s level, at least 4 feet long, is essential for spot-checking level across shorter sections as you work, particularly once pavers start going down. Shorter levels can miss subtle dips or high points that only become apparent across a longer span.
A rotary laser level projects a level, or intentionally sloped, plane across the entire work area, giving you a constant reference point visible from anywhere along the walkway without needing to physically stretch a string line each time you check. This is particularly useful for longer walkways or ones with more complex layouts, since it removes the need to reposition string lines repeatedly as work progresses.
Paired with a laser level, a receiver mounted on a grade rod lets you check exact height at any point along the site quickly, which speeds up the process significantly compared to manually measuring against a string line at each check. This combination is common on larger or more precisely graded projects where consistency across a big area matters more than it would on a short garden path.
For a short, simple walkway, string lines and a good 4 foot level are generally sufficient. Laser levels become more valuable as walkway length increases, as the site has more complex grade changes, or when multiple people are working different sections of a project at once and need a shared, consistent reference point rather than relying on a single string line setup.
Set stakes at both ends of the walkway, and at intermediate points for longer paths, then stretch a string line between them at your intended finished height, accounting for the base, sand, and paver thickness that will eventually sit below that line.
Remove soil to slightly below your target depth across the full width and length of the walkway, using your string line as a general guide for overall consistency rather than a precise final measurement at this stage.
Before adding any base material, compact the exposed soil at the bottom of the excavation and check it against your string line or laser reference. This subgrade doesn’t need to be perfectly level in the same way the final surface does, but it should be free of significant dips or soft spots.
Add base material in layers of about 2 inches, checking level after compacting each layer rather than only at the very end. Correcting a layer that’s slightly off before adding more material on top is far easier than trying to fix an issue buried under several inches of compacted gravel.
Once your base is fully compacted and level, set your screed rails at the correct height and drag a screed board across the sand to create a smooth, level bedding layer for the pavers.
Even with a perfectly leveled base and sand layer, individual pavers can still sit slightly high or low due to minor thickness variations in the product itself. Check level with your 4 foot level every few rows, adjusting sand underneath individual pavers as needed rather than waiting until the whole section is finished to notice a problem.
Ground that isn’t properly leveled and compacted before construction is more vulnerable to the freeze and thaw movement common along the Front Range. A base that starts out slightly uneven tends to have that unevenness amplified over repeated freeze and thaw cycles, since the areas with less compaction or support settle further with each cycle while more solidly based sections stay put. Getting the leveling right from the start reduces how much seasonal ground movement translates into a visibly uneven walkway surface a few years down the line.
Leveling a short, straightforward walkway is a reasonable DIY task for a patient homeowner with the right tools. It becomes considerably more demanding on longer walkways, sloped sites, or yards with significant existing unevenness, where small errors compound across a longer distance and are harder to catch and correct without more precise tools and experience reading how a specific site behaves.
With over 15 years of leveling ground for paver projects across a wide range of yard conditions in the Denver area, our team has developed a good instinct for which sites need extra attention and where a slightly imperfect subgrade is likely to cause problems down the road. Explore our paver patio services to see examples of the properly leveled, long-lasting work that comes from getting this foundational step right.
Grading establishes the overall intended slope or flatness of the site, while leveling is the finer, more precise work of making sure the actual surface at each layer is even and consistent with that plan.
At minimum, a string line, stakes, a line level, a 4 foot carpenter’s level, and screed rails for the sand layer. Laser levels are useful additions for longer or more complex walkways.
Start by removing obstacles like rocks and roots, then address high spots by excavating them down and low spots by adding properly compacted fill material, rather than trying to level around existing unevenness.
Not necessarily. String lines, a line level, and a good 4 foot level are generally sufficient for shorter, simpler walkways. Laser levels become more valuable as length and complexity increase.
This is often due to minor thickness variations between individual pavers, which is why checking level every few rows as pavers go down, not just at the base and sand stage, is an important step.
Yes. Ground that isn’t properly leveled and compacted tends to see that unevenness amplified over repeated freeze and thaw cycles, which is common in clay-heavy soil across the Denver area.
Leveling is one of the less visible steps in building a paver walkway, but it’s also one of the most important for making sure the finished surface stays flat and even for years rather than months.
Ridgewell Landscape and Design has been leveling ground and building paver walkways across Denver, Broomfield, Parker, and the surrounding communities for over 15 years. If you’d like your site assessed and properly leveled from the start, reach out for a free quote and consultation.
Fresh Ideas From our experts
What Your Neighbors Are Saying
"They are the best. We have a small backyard and needed it to reflect a relaxing and enjoyable space. Chris used our ideas and came up with the perfect design. Then Francisco came with the cost projections and worked to accommodate our budget. He and his team then used their considerable construction expertise to create a space that’s an extension of our home where we spend a lot of time. Thank you for creating such a welcoming space."
"I am new to Colorado and hired Chris and Francisco to design and implement a plan for my new build house. From design to finish and followup they were beyond my expectations. They are in constant contact throughout the project and their crew is very hardworking. They followup when the project is finished and are always available for whatever questions you may have. I would highly recommend them, and I get many complements on the work they have done for me."
"We were thrilled with the end result of our brick paver patio refurbishment. We hired Chris, Francisco and their team to fix our sinking brick paver patio. It had been installed by a different landscaper, and after only 2 years it was collapsing. Boo hiss! Ridgewell Landscape and Design came in and saved the day! They discovered the original installation was done incorrectly, and that’s why it was collapsing. Their team worked hard and got the project done quickly and professionally. We are thrilled with the look and finish of the job! Bravo!!"