- Get A Free Consultation.
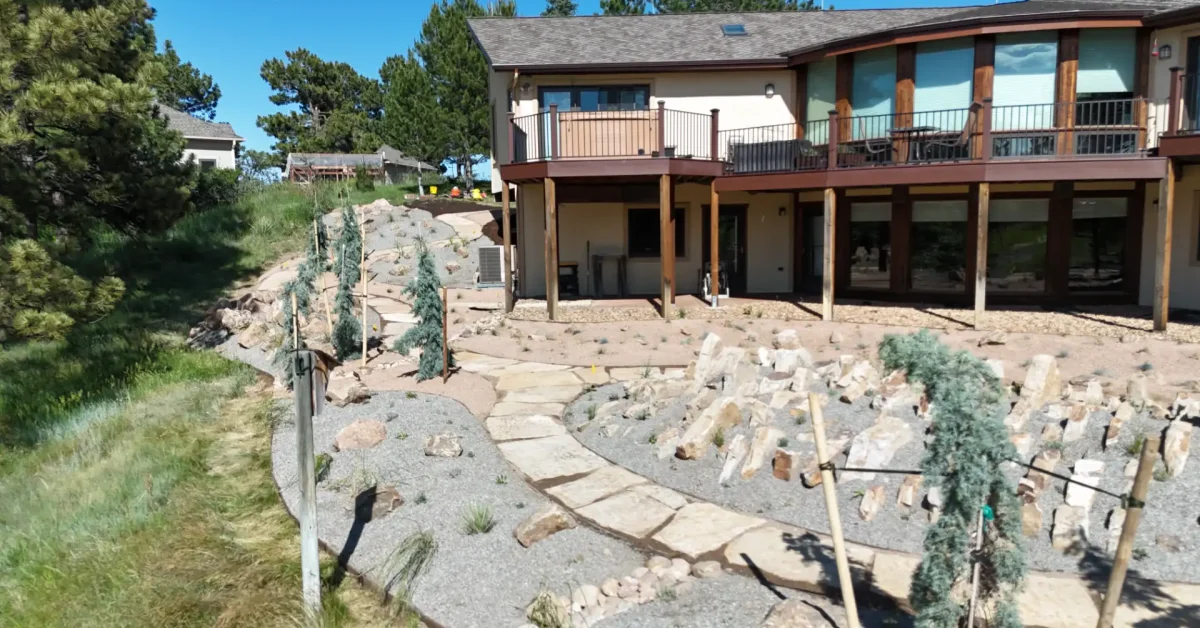
Building a walkway and patio as one connected project is a different kind of challenge than building either one on its own. The individual construction steps, excavation, base, laying pavers, jointing, are largely the same. What actually makes or breaks the result is the transition between the two spaces, how the walkway hands off to the patio in material, pattern, and level, so the finished project reads as one cohesive design rather than two separate installations that happen to touch.
At Ridgewell Landscape and Design, walkway and patio combination projects are some of the most common builds we take on across the Denver area, including Broomfield, Parker, and the surrounding communities, and the transition point is where we spend the most design attention. This guide covers how to plan and build a walkway and patio together, with a close look at getting that connection right, along with cost considerations for building both at once versus separately.
A walkway and a patio built independently, even with similar materials, often end up feeling like two different projects stitched together. A walkway and patio built as one connected system, planned together from the start, reads as a single, intentional outdoor space. The difference almost always comes down to how carefully the transition between them was handled, not the quality of either space on its own.
The simplest and most reliably cohesive approach is using the exact same paver product, color, and finish for both the walkway and patio. This removes any guesswork around whether two similar-but-different products will read as intentional or mismatched once installed side by side.
Some designs benefit from a slightly different, but clearly complementary, paver for the walkway versus the patio, for example a smaller format paver for the walkway leading into a larger format paver field on the patio. This works well when there’s a deliberate design reason for the distinction, but it requires more careful color and tone matching than using an identical product throughout.
| Approach | Best For | Consideration |
| Same pattern throughout | Simple, cohesive look | Easiest to execute cleanly |
| Different pattern, same paver | Visual variety with cohesion | Needs a clear transition line |
| Different pattern, different paver | Distinct zones, bold design | Highest risk of feeling disconnected |
Running the same pattern, like herringbone, continuously from walkway into patio creates the most seamless transition. Changing pattern while keeping the same paver, for example running bond on the walkway shifting to herringbone on the patio, still reads as cohesive as long as the change happens at a clear, deliberate line, like where the walkway meets the patio’s edge, rather than an arbitrary point partway through.
One of the cleanest ways to handle a transition, especially when pattern or paver size changes between the two spaces, is a deliberate border course, a row or two of pavers running perpendicular to both spaces, marking the transition clearly rather than letting two different patterns awkwardly meet at an undefined point.
Rather than a walkway meeting a patio at an abrupt width change, a gradual widening as the walkway approaches the patio creates a more natural visual flow. This works particularly well when the walkway is noticeably narrower than the patio, which is common since walkways typically run 3 to 5 feet wide while patios are often considerably wider.
If your site has any slope between where the walkway starts and where the patio sits, managing that elevation change smoothly is critical to the transition feeling intentional rather than awkward. This might mean a very gradual grade change across the walkway’s length, or in some cases a shallow step or two right at the transition point if the elevation change is more significant. Our guide on building a paver walkway on a slope covers grading and stepped approaches that apply directly to managing this kind of transition.
Materials
Tools
Before any digging, lay out both the walkway and patio as one connected design, not two separate plans, paying close attention to how width, pattern, and material will meet at the transition point.
Use stakes and string to mark both the walkway path and patio footprint together, so you can see the full project in real dimensions and confirm the transition feels right before excavation begins.
Dig out both areas accounting for base, sand, and paver thickness combined, keeping depth consistent across the transition point so the finished surfaces meet at a smooth, level line rather than a visible seam.
Add crushed gravel in 2 inch layers across both spaces, compacting thoroughly after each layer. Treating the base as one continuous system rather than two separate ones helps prevent uneven settling right at the transition point down the line.
Roll landscape fabric over the compacted base, then add and screed about 1 inch of coarse sand across both spaces, maintaining a consistent, level plane through the transition.
Rather than building each space independently and hoping they meet cleanly, many installers start laying pavers from the transition point outward in both directions, since this ensures the connection itself is precise before extending the pattern into either space.
Once the main fields of both spaces are laid, measure and cut border pieces individually to fit the remaining edge gaps around the full perimeter.
Secure edge restraints around the entire combined footprint, walkway and patio together, anchoring with spikes to lock the whole system in place.
Sweep polymeric sand into the joints across both spaces, remove excess sand from the surface, and mist to activate.
Run the plate compactor over the entire finished project one final time, checking closely at the transition point for any inconsistency in level or joint spacing.
Building a walkway and patio at the same time generally costs less overall than building them as two separate projects at different points in time, for a few concrete reasons.
| Factor | Combined Project | Separate Projects |
| Mobilization and site setup | One time cost | Paid twice |
| Material ordering | Bulk pricing on larger combined order | Smaller individual orders |
| Labor efficiency | Continuous work, no re-setup | Crew re-establishes site each time |
| Base work | One continuous, connected base | Separate bases, harder to match perfectly |
| Design cohesion | Planned together from the start | Requires matching an existing installation later |
Beyond direct cost savings, building both together also removes the challenge of matching a new installation to an existing one months or years later, when the original paver product may no longer be available in the same color or batch. If you know a patio is in your future plans even if you’re only building the walkway now, it’s worth discussing that intention with your contractor upfront, since some site and base planning decisions made during the walkway phase can make a future patio addition easier to tie in cleanly.
A walkway and patio built as one thoughtfully connected project consistently reads as more finished and intentional than the same two spaces built independently, even when using similar materials. The transition point, matched pattern, and continuous base work are the details that separate a combined outdoor living space from what feels like two unrelated hardscape projects placed next to each other.
With over 15 years of designing and building combined walkway and patio projects across the Denver area, our team at Ridgewell Landscape and Design pays close attention to exactly this kind of connection point, since it’s often what determines whether a finished project feels cohesive or disjointed. Explore our paver patio services to see examples of combined walkway and patio designs.
Using the exact same paver is the simplest way to ensure a cohesive look, though a complementary paver can work well when there’s a deliberate design reason and careful color matching.
Generally yes, due to shared mobilization costs, bulk material pricing, more efficient labor, and a continuous base system, compared to building them as separate projects at different times.
Options include a gradual grade change across the walkway’s length or a shallow step at the transition point if the elevation change is more significant, similar to techniques used for sloped walkways generally.
Yes, though it’s worth discussing that future plan with your contractor during the walkway phase, since certain site and base decisions can make a later patio addition easier to tie in cleanly.
A deliberate border course, a row or two of pavers running perpendicular to both spaces, creates a clear, intentional transition line rather than letting two patterns meet at an undefined point.
A walkway and patio built together as one thoughtful design consistently outperforms two separately built spaces, both in how it looks and in overall project cost.
Ridgewell Landscape and Design has been designing and building combined walkway and patio projects across Denver, Broomfield, Parker, and the surrounding communities for over 15 years. If you’re planning both spaces, reach out for a free quote and consultation.
Fresh Ideas From our experts
What Your Neighbors Are Saying
"They are the best. We have a small backyard and needed it to reflect a relaxing and enjoyable space. Chris used our ideas and came up with the perfect design. Then Francisco came with the cost projections and worked to accommodate our budget. He and his team then used their considerable construction expertise to create a space that’s an extension of our home where we spend a lot of time. Thank you for creating such a welcoming space."
"I am new to Colorado and hired Chris and Francisco to design and implement a plan for my new build house. From design to finish and followup they were beyond my expectations. They are in constant contact throughout the project and their crew is very hardworking. They followup when the project is finished and are always available for whatever questions you may have. I would highly recommend them, and I get many complements on the work they have done for me."
"We were thrilled with the end result of our brick paver patio refurbishment. We hired Chris, Francisco and their team to fix our sinking brick paver patio. It had been installed by a different landscaper, and after only 2 years it was collapsing. Boo hiss! Ridgewell Landscape and Design came in and saved the day! They discovered the original installation was done incorrectly, and that’s why it was collapsing. Their team worked hard and got the project done quickly and professionally. We are thrilled with the look and finish of the job! Bravo!!"