- Get A Free Consultation.
“Slope” means two different things when it comes to a paver walkway, and mixing them up is where a lot of drainage problems start. There’s drainage slope, the slight, deliberate tilt built into every walkway regardless of terrain, which moves water off the surface and away from structures. And there’s hillside grade, the actual rise or fall of the ground itself when a walkway crosses sloped terrain. Every walkway needs the first kind. Only some walkways deal with the second.
At Ridgewell Landscape and Design, getting both types of slope right is part of every walkway project we build across the Denver area, including Broomfield, Parker, and the surrounding communities. This guide covers how to properly slope a walkway for drainage on any site, plus how that changes when the walkway itself is also crossing hillside terrain.
| Type | What It Is | Applies To |
| Drainage slope (pitch) | A slight tilt, typically 1 to 2 percent, moving water off the surface | Every walkway, flat or sloped terrain |
| Hillside grade | The actual rise or fall of the ground along the walkway’s length | Only walkways crossing sloped terrain |
A perfectly flat-looking walkway on level ground still needs drainage slope, without it, water sits on the surface after every rain instead of running off. A walkway climbing a hillside needs both, the overall hillside grade it’s following, plus a cross-slope for drainage layered on top of that grade.
Water that has nowhere to go pools on the walkway surface, seeps into joints, and eventually works its way down into the base material, where repeated freeze and thaw cycles can push pavers up and out of position over time. A properly built drainage slope moves that water off the walking surface before it has a chance to sit and cause problems, whether the walkway is on flat ground or climbing a hill.
A drainage slope, sometimes called a cross-slope or pitch, of 1 to 2 percent is the standard target for a paver walkway. That translates to roughly a quarter inch to a half inch of drop for every 12 inches of walkway width. This is subtle enough that it’s rarely noticeable to someone walking across it, but it’s enough to reliably move water toward one side rather than letting it sit.
A slope below about 1 percent often isn’t enough to reliably move water, especially on a walkway with any surface texture or slight unevenness in the joints, which can create small pockets where water pools rather than continuing to flow.
A slope steeper than roughly 2 percent starts to become noticeable underfoot and can feel slightly off-balance to walk across, particularly for anyone with mobility concerns. It’s rarely necessary to exceed the standard range for drainage purposes alone, even in a climate with heavy seasonal rain or snowmelt.
For any walkway near a house, foundation, or other structure, the slope should direct water away from that structure, not toward it. This is one of the most important drainage principles in any hardscape project, and it takes priority over other slope considerations when the two might conflict.
Beyond just moving away from structures, ideally the slope directs water toward an intentional destination, a lawn area, a garden bed, a drain, or a lower point in the yard designed to handle runoff, rather than just wherever the walkway happens to lean.
A cross-slope, tilting from one side of the walkway to the other, is the standard approach for most walkways, since it moves water off to the side without affecting how level the walkway feels along its length. An end-to-end slope, tilting from one end of the walkway to the other, is generally reserved for walkways that are already dealing with some natural grade change, rather than being introduced deliberately on flat ground.
Before excavating, determine which side of the walkway will be the high side and which will be the low side, based on where you want water to ultimately go.
Rather than excavating to a single uniform depth across the full width, excavate slightly deeper on the low side than the high side, matching your target 1 to 2 percent cross-slope.
As you add and compact your gravel base in layers, maintain that same slight cross-slope throughout, rather than compacting to a perfectly flat plane and hoping the sand layer will correct it later.
When screeding your bedding sand, set your screed rails at heights matching the intended cross-slope, rather than level rails, so the sand bed itself carries the correct pitch before pavers go down.
As pavers go down, check that they’re following the established sloped plane consistently, using a level held at an angle matching your target slope, rather than checking for a perfectly level result.
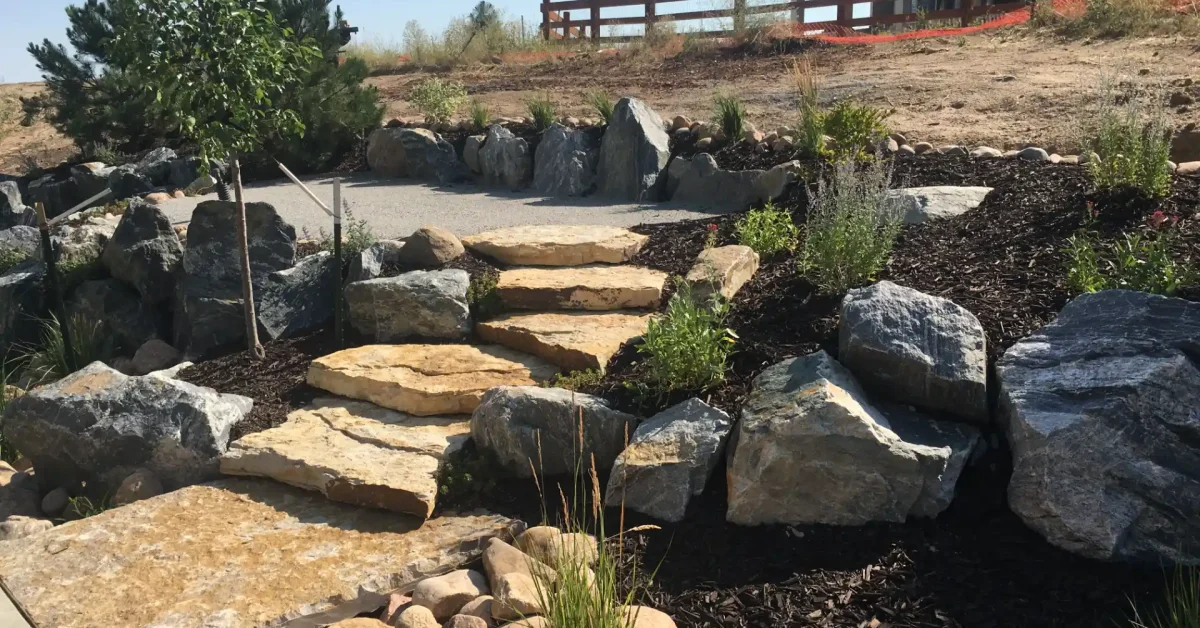
When a walkway is climbing or descending a hillside, it needs to manage the overall hillside grade along its length while still maintaining a cross-slope for drainage across its width. This means the base and sand layers are doing two jobs at once, following the general downhill direction while also tilting slightly side to side. Our guide on how to build a paver walkway on a slope covers the excavation, base depth, and drainage planning specific to hillside terrain in more depth, including when a stepped design becomes necessary rather than a continuous gradual slope.
The simplest way to confirm a walkway’s drainage slope is actually working is to run a hose across it, or wait for the next real rain, and watch where the water goes. It should move steadily off the surface toward your intended direction, without pooling anywhere along the way.
For a more precise check, place a level across the walkway’s width and use a shim of known thickness, matching your target slope, under the low side. If the level reads flat with that shim in place, your slope is tracking correctly. Repeat this check at several points along the walkway’s length, since a slope that’s correct at one end can drift off target by the other end if it wasn’t consistently maintained during construction.
In the weeks following installation, keep an eye on the walkway after a few real rain events. Any spot where water noticeably lingers longer than the surrounding surface points to a low spot or inconsistency in the slope that’s worth addressing before it becomes a recurring issue.
Water that isn’t properly directed off a walkway surface becomes a bigger problem specifically during freeze and thaw cycles, common along the Front Range through the winter and spring. Water sitting in low spots or pooling against joints expands as it freezes, which can push pavers out of position or contribute to base erosion over repeated cycles. A properly built drainage slope is one of the simpler, more preventable factors in keeping a walkway performing well through Colorado’s seasonal weather patterns.
Getting drainage slope right on a flat site is a manageable task for a careful DIYer with the right tools and attention to detail. It becomes considerably more demanding when a walkway is also navigating hillside grade, connecting to an existing patio or driveway at a different elevation, or dealing with a yard that has multiple drainage considerations feeding into the same area.
In these more complex situations, professional grading experience helps avoid a walkway that looks fine on installation day but develops drainage problems within the first year.
With over 15 years of planning and building properly sloped walkways across a wide range of site conditions in the Denver area, our team at Ridgewell Landscape and Design pays close attention to getting both drainage slope and hillside grade right from the start. Explore our paver patio services to see examples of properly drained, long-lasting hardscape work.
A standard drainage slope of 1 to 2 percent is recommended, roughly a quarter inch to a half inch of drop for every 12 inches of walkway width.
Yes. Even on completely flat terrain, a walkway needs a deliberate drainage slope, or water will pool on the surface rather than draining away.
Generally away from any nearby structure, like a house or foundation, and ideally toward an intentional drainage point rather than wherever the terrain happens to lean.
Drainage slope is a slight cross-slope for moving water off the surface, needed on every walkway. Hillside grade is the actual rise or fall of the terrain the walkway is built on, which only applies to sloped sites.
Run a hose across the surface or observe it during real rain, watching for water that moves steadily off the surface without pooling anywhere along the way.
Water pools on the surface and works into the joints and base material, which can lead to freeze-thaw damage, shifting pavers, and base erosion over time.
Getting drainage slope right is a subtle but important detail that affects how well a walkway performs for years after installation, on flat ground or sloped terrain alike.
Ridgewell Landscape and Design has been planning and building properly sloped, well-drained walkways across Denver, Broomfield, Parker, and the surrounding communities for over 15 years. If you’d like your site assessed for proper drainage planning, reach out for a free quote and consultation.
Fresh Ideas From our experts
What Your Neighbors Are Saying
"They are the best. We have a small backyard and needed it to reflect a relaxing and enjoyable space. Chris used our ideas and came up with the perfect design. Then Francisco came with the cost projections and worked to accommodate our budget. He and his team then used their considerable construction expertise to create a space that’s an extension of our home where we spend a lot of time. Thank you for creating such a welcoming space."
"I am new to Colorado and hired Chris and Francisco to design and implement a plan for my new build house. From design to finish and followup they were beyond my expectations. They are in constant contact throughout the project and their crew is very hardworking. They followup when the project is finished and are always available for whatever questions you may have. I would highly recommend them, and I get many complements on the work they have done for me."
"We were thrilled with the end result of our brick paver patio refurbishment. We hired Chris, Francisco and their team to fix our sinking brick paver patio. It had been installed by a different landscaper, and after only 2 years it was collapsing. Boo hiss! Ridgewell Landscape and Design came in and saved the day! They discovered the original installation was done incorrectly, and that’s why it was collapsing. Their team worked hard and got the project done quickly and professionally. We are thrilled with the look and finish of the job! Bravo!!"